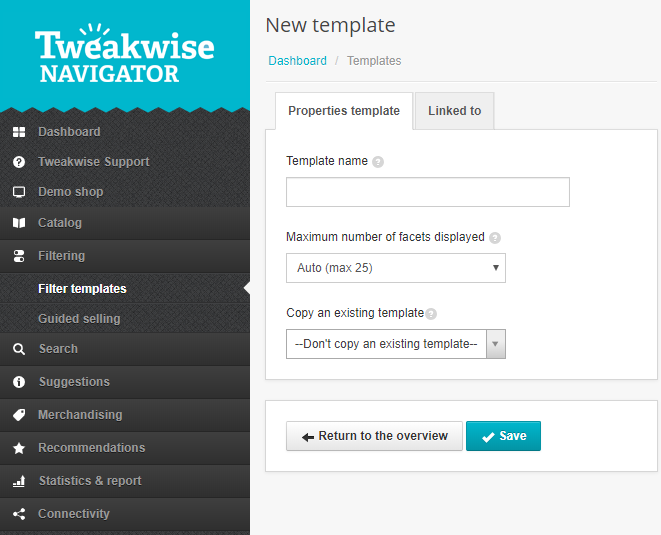
Navigate to Filter templates and click New template. You'll see the screen below. Fill in the template name, pick how many facets should be displayed - this is set to 25 by default -, and choose if you want to copy an existing template. Then click Save to save the template.
Next, you can add filters to the template. Select the filters that you want to use and click Add. You'll see them appear in the list. The left symbol allows you to reorder the filters by dragging them. The order that you see here is also the order you'll see in your webshop. You can change the filters' display name right here in the overview without having to go into each filter's settings. Once you've added all your filters, click Save again. You've now made a filter template!
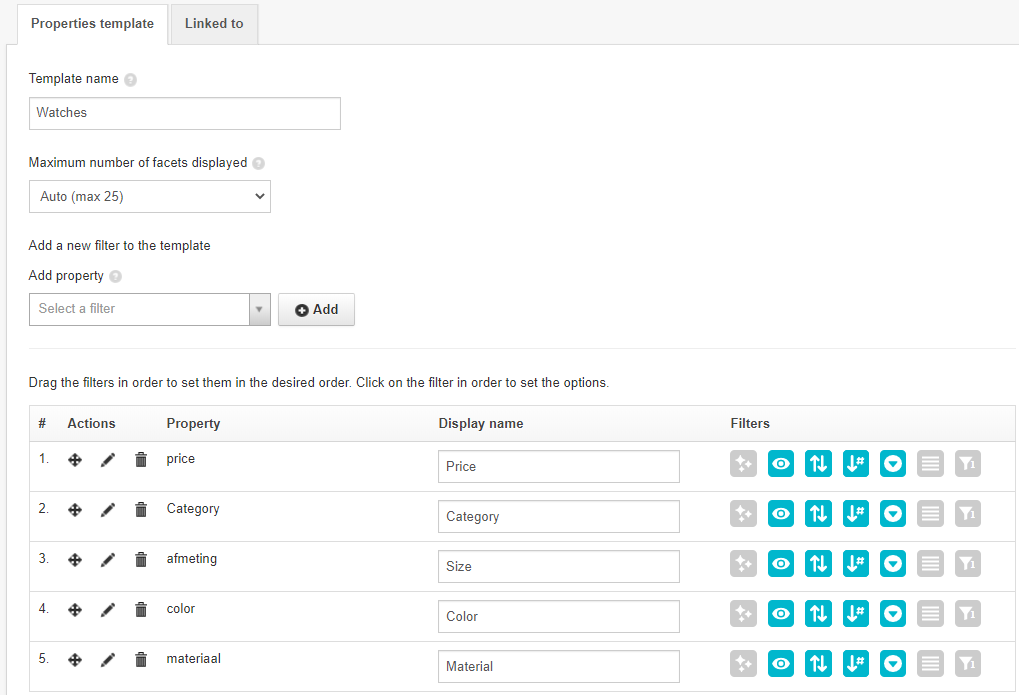
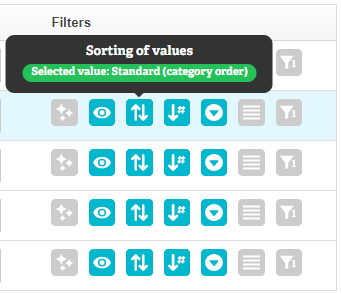
In the right column, you'll see a collection of buttons. You can use these to quickly change the settings of the filters in the template. These are the settings that are changed most often. The options that you can choose here are somewhat limited compared to the settings within each filter. Any change you make with these buttons is instantly applied, you don't necessarily need to save the template.
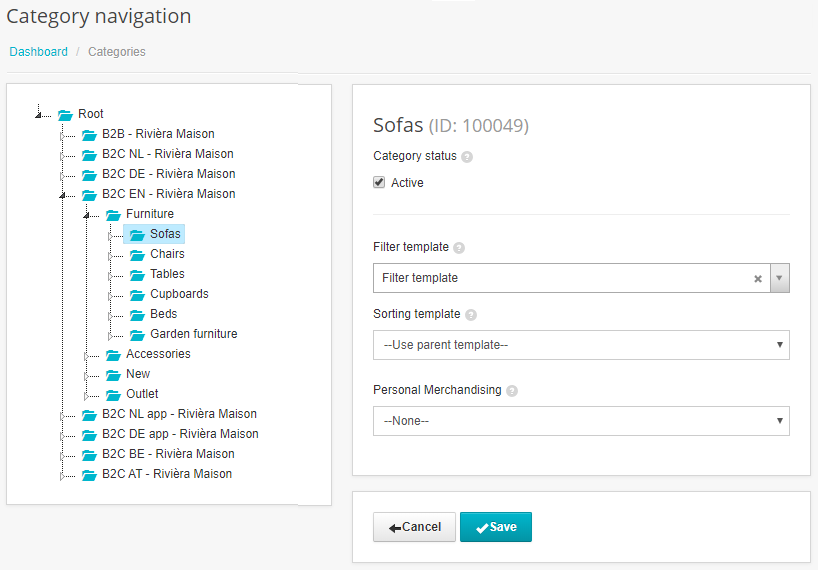
You need to link the filter template to a category to make sure that it's used. You can do this by navigating to the submodule Categories. You'll find the category tree here. Click on the category you just created a filter template for, and select the new template. Click Save now. The new template will be visible on your webshop once the publishing task has run.